Every business, small or large, needs a website that truly represents its brand, connects with its audience, and delivers measurable results. Yet many people think web design is just about visuals — choosing colors, fonts, and images. In reality, a professional website is built through a structured process that combines planning, design, development, content strategy, SEO, and continuous improvement.
At RedSpider Web & Art Design, we have built websites for hundreds of clients in Dubai and around the world. Our approach is simple but powerful — we follow 7 clear steps that take a project from idea to successful launch. This process helps avoid confusion, saves time, and ensures your website performs well across all devices and search engines.
Below, we explain these seven essential steps to web design in clear, easy English so that any business owner or learner can understand the full journey.
Step 1: Understand the Goals and Audience
The first and most critical step in web design is understanding the purpose of the website and the people who will use it. Without clarity on these two points, even the best-looking site can fail to perform.
Define the Website’s Objective
Before you start designing, answer this simple question:
“What do I want my website to achieve?”
Some common goals include:
- Generating leads or sales
- Sharing company information
- Promoting services or portfolios
- Building brand awareness
- Educating or supporting customers
Once your goal is clear, every decision — design, layout, content — should support it.
Know Your Target Audience
The next step is understanding who your website is for:
- Who are your potential visitors (age, profession, location)?
- What are their needs and expectations?
- What kind of language or tone appeals to them?
- Which device do they use most — mobile or desktop?
This information helps in designing user-friendly interfaces and writing content that resonates with real people.
Set Measurable Success Indicators
Finally, define how you’ll measure success. Use numbers and goals such as:
- Number of contact form submissions
- Growth in monthly traffic
- Increase in average session duration
- Reduction in bounce rate
When the purpose and audience are clear, your web design strategy naturally becomes more focused and effective.
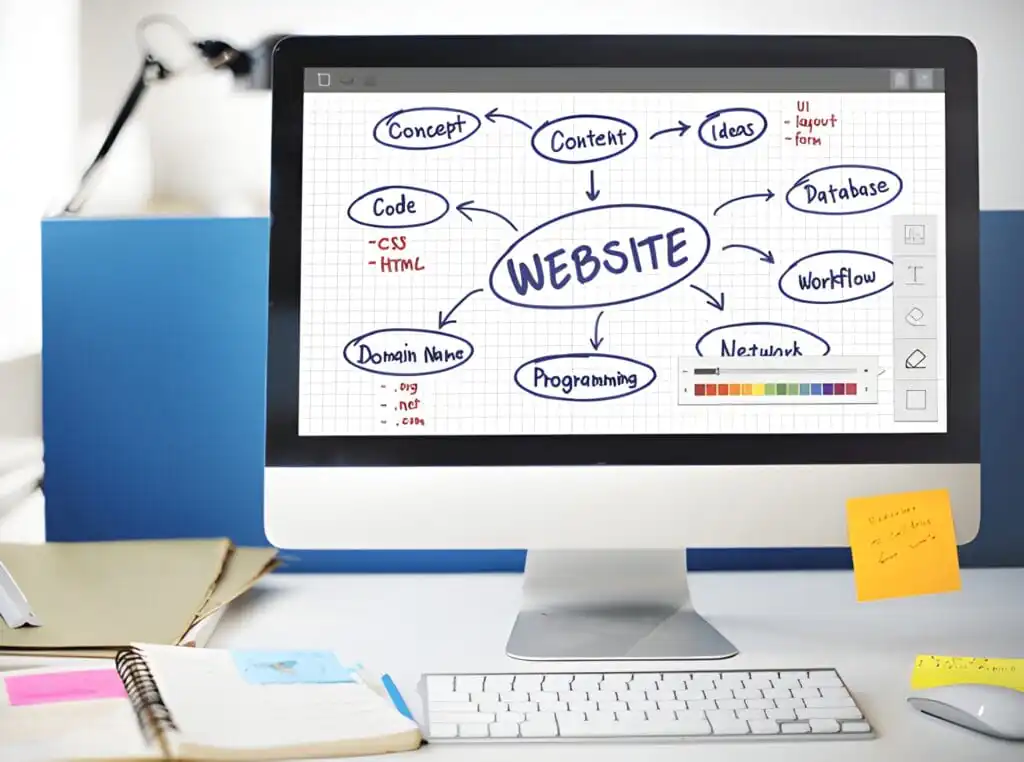
Step 2: Plan the Structure (Sitemap & User Flow)
Once you understand your goals, you can plan how your website will be structured. This is where strategy turns into blueprint.
Create a Sitemap
A sitemap is like a roadmap of your website. It lists all the pages and shows how they connect to each other.
A simple structure could be:
- Home
- About Us
- Services / Products
- Portfolio or Case Studies
- Blog / Resources
- Contact Us
A well-organized sitemap helps users navigate easily and helps search engines understand your website layout.
Map the User Journey
Plan how visitors will move through your site:
- From homepage → to service page → to contact form
- From blog post → to product → to checkout
The goal is to make it easy for users to find what they need in just a few clicks.
Prioritize Pages and Features
Not all pages hold equal importance. Focus on:
- Landing pages for your main services
- High-traffic content pages
- Conversion points like forms and call buttons
This step ensures the site is logical, efficient, and ready for both users and search engines.
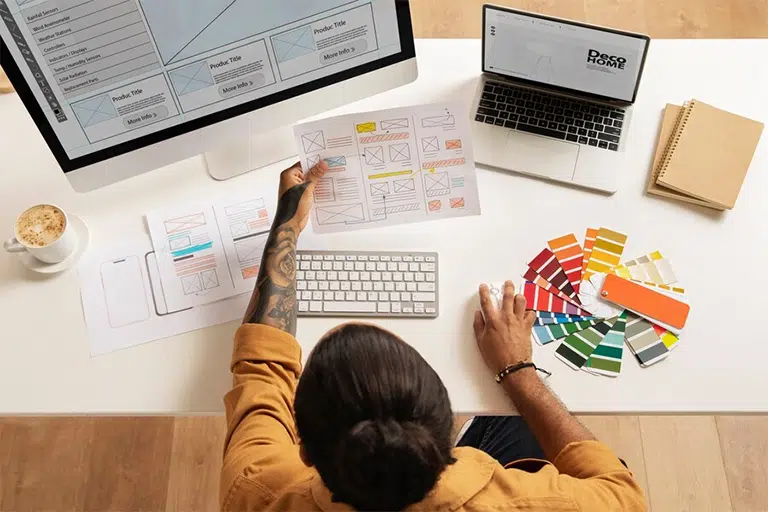
Step 3: Build Wireframes and Outline Content
Before adding colors or design, you must create wireframes — simple sketches of each page layout. This step saves time, reduces errors, and builds clarity before the design stage.
Design Wireframes
A wireframe is a grayscale version of your page showing:
- Header and menu placement
- Section arrangement (hero banner, features, testimonials)
- Buttons and call-to-action positions
- Footer layout
Wireframes act like a house blueprint — they show structure before adding decoration.
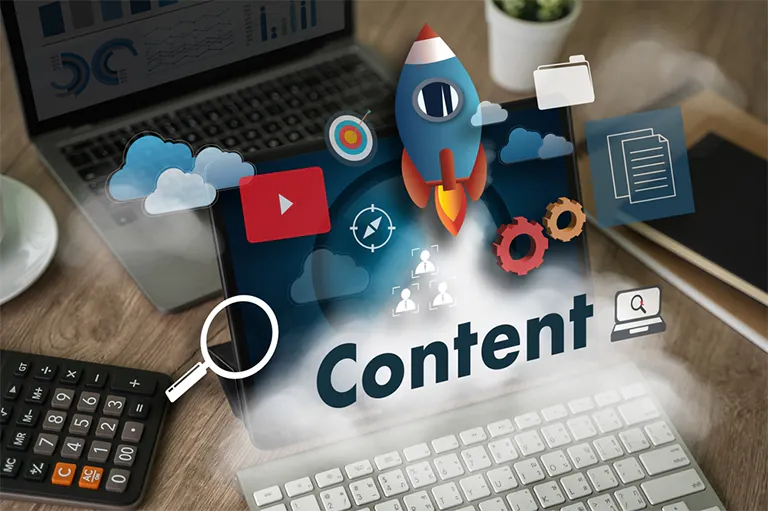
Plan Content for Each Section
Good design needs good content. At this stage:
- Write page titles and headlines that clearly describe what each section is about.
- Decide where text, visuals, or videos will go.
- Create short and clear sentences to hold user attention.
- Identify keywords you’ll target for SEO.
Add Functionality Notes
Mention important interactions:
- Will there be animations or sliders?
- Is there a form or map on the page?
- Do buttons scroll to another section?
This ensures your design and development teams work with the same vision.
Step 4: Visual Design (User Interface Design)
Now comes the exciting part — turning your structure into a beautiful, brand-aligned design. But remember, good design is not decoration. It’s about usability, consistency, and purpose.
Focus on Brand Identity
Your website should look and feel like your brand.
- Use your logo, brand colors, and fonts consistently.
- Choose a color palette that reflects emotion (e.g., blue for trust, red for energy).
- Keep spacing balanced and sections well-aligned.
Prioritize User Experience (UX)
Design with visitors in mind:
- Keep menus short and easy to read.
- Place important buttons above the fold (visible without scrolling).
- Ensure text is large enough for comfortable reading.
- Avoid clutter — use white space to make content breathable.
Design for Mobile First
With most traffic coming from smartphones, mobile design should be the top priority:
- Simplify navigation
- Avoid heavy graphics
- Stack content vertically
- Test tap areas for thumbs
Add Visual Hierarchy
Make it easy for users to scan information:
- Headlines → Subheadings → Short paragraphs
- Use contrast for important elements like buttons or offers
- Keep CTAs (Call-to-Actions) consistent across pages
A clean, professional layout helps visitors trust your brand and take action.
Step 5: Develop the Website (Front-End & Back-End)
Once the design is approved, the development stage transforms visuals into a real, interactive website. This is where technical skill meets creativity.
Front-End Development
This part covers everything users see and interact with:
- HTML: Builds the structure
- CSS: Adds style and layout
- JavaScript: Creates interactivity (like sliders or forms)
Developers ensure the design is pixel-perfect and responsive across all devices.
Back-End Development
This is the engine behind the website:
- Setting up databases, servers, and CMS systems
- Managing dynamic features (like contact forms or product listings)
- Ensuring site security and backups
Content Management System (CMS)
For business owners, a CMS allows easy updates without coding.
Popular CMS platforms include:
- WordPress – great for blogs and service websites
- Shopify – perfect for eCommerce
- Custom PHP/Laravel systems – ideal for large portals or web applications
Optimize for Performance
A fast website keeps visitors and improves SEO:
- Compress images and cache content
- Minify CSS/JS files
- Use Content Delivery Networks (CDNs)
Apply SEO Fundamentals
Development and SEO go hand in hand:
- Use clean, SEO-friendly URLs
- Add proper heading tags (H1, H2, H3)
- Optimize meta titles and descriptions
- Include alt text for images
- Implement structured data (schema)
A website that loads fast and ranks well is the foundation of digital success.
Step 6: Test the Website Before Launch
Before the website goes live, testing ensures that every element functions correctly. It’s the quality control stage that protects your brand image.
Functional Testing
- Check all links, buttons, and menus.
- Test forms (ensure you receive submissions).
- Verify image loading and file downloads.
Responsive Testing
Test your site on different devices:
- Desktop, tablet, and mobile
- Major browsers (Chrome, Safari, Firefox, Edge)
- Different screen sizes and orientations
Performance Testing
- Measure speed using Google PageSpeed Insights or GTMetrix.
- Identify large files and fix slow-loading scripts.
- Check caching and compression settings.
SEO Testing
- Verify meta tags and headings.
- Test for duplicate content and broken URLs.
- Submit XML sitemap and robots.txt.
Security & Backup
- Install SSL certificate for HTTPS.
- Set up daily backups.
- Test login security and password protection.
A thorough testing phase ensures the website is ready for public view without errors or downtime.
Step 7: Launch and Maintain the Website
The final step — launch — is not the end of the process. It’s actually the beginning of the website’s real journey.
Launch Tasks
- Point your domain to the new hosting.
- Double-check all forms and contact pages.
- Monitor analytics from day one.
- Announce the launch via email and social media.
Post-Launch Optimization
After launch, collect data and feedback to improve performance:
- Use Google Analytics to track traffic and conversions.
- Check Google Search Console for crawl or indexing issues.
- Identify pages with high exit rates and improve them.
- Test different CTAs or images to increase engagement.
Ongoing Maintenance
Your website is like a living product — it needs care:
- Update CMS, themes, and plugins regularly.
- Fix broken links or outdated information.
- Add new blog posts or service pages monthly.
- Review SEO every 3–6 months.
- Keep backups and monitor uptime.
Why Maintenance Matters
Regular updates help:
- Improve security
- Enhance user experience
- Maintain search rankings
- Keep your business image professional
At RedSpider, we provide ongoing support to make sure your website stays fast, secure, and up to date.
SEO Considerations Across All Stages
SEO isn’t a single step — it’s part of every phase of web design. To build a search-friendly website:
- During Planning: Choose topics and structure around real search intent.
- During Design: Focus on usability, readability, and mobile speed.
- During Development: Optimize code, meta data, and schema.
- During Testing: Fix slow-loading or broken pages.
- After Launch: Monitor rankings and continue link building.
A well-structured, SEO-optimized website not only looks good but also performs well in search results — helping you reach your target audience effectively.
Common Mistakes to Avoid
Even experienced designers & Developers make these mistakes — avoid them to save time and money:
- Starting design without audience research.
- Using too many colors, fonts, or animations.
- Ignoring mobile responsiveness.
- Forgetting SEO setup before launch.
- Launching without proper testing or backup.
- Not tracking performance after going live.
Avoiding these errors ensures your website remains professional and growth-ready.
Conclusion
Building a website isn’t about luck or guesswork — it’s about following a clear process that combines creativity, technology, and strategy. By following these 7 steps — from research to design, development, and maintenance — you can create a website that’s not only visually appealing but also functional, fast, and SEO-friendly.
At RedSpider Web & Art Design, we don’t just design websites; we build digital experiences that help businesses grow. Whether you’re a startup, a small company, or an established brand, our structured process ensures your website delivers measurable results.
Ready to start your web design journey?
Contact RedSpider Web & Art Design today — and let’s bring your vision to life, one step at a time.